Properly cleaning a screen-printing screen is crucial for maintaining its quality and reusability. The outcome is contingent upon the ink used for printing, whether water-based, plastisol, or solvent-based. Upon completing a screen printing design, whether after the day or upon finishing a print job, it is imperative to cleanse the screen thoroughly. Failure to clean the screen promptly after usage, particularly when water-based inks are involved, may accumulate residual ink that is difficult to eliminate.
This can lead to screen damage and compromise the quality of future prints. If you have had difficulties effectively removing ink and other residues from screen printing screens, or if you need to verify the accuracy of your present procedure, please read the following straightforward, step-by-step process. Following these instructions, you will achieve high-quality designs for your next print task.
1. How To Clean Screen Printing Screens?
1.1. Reusing The Screen
Reclaiming the screen rather than reprocessing it presents two distinct approaches to the cleansing procedure that can be adopted when organizing screens.
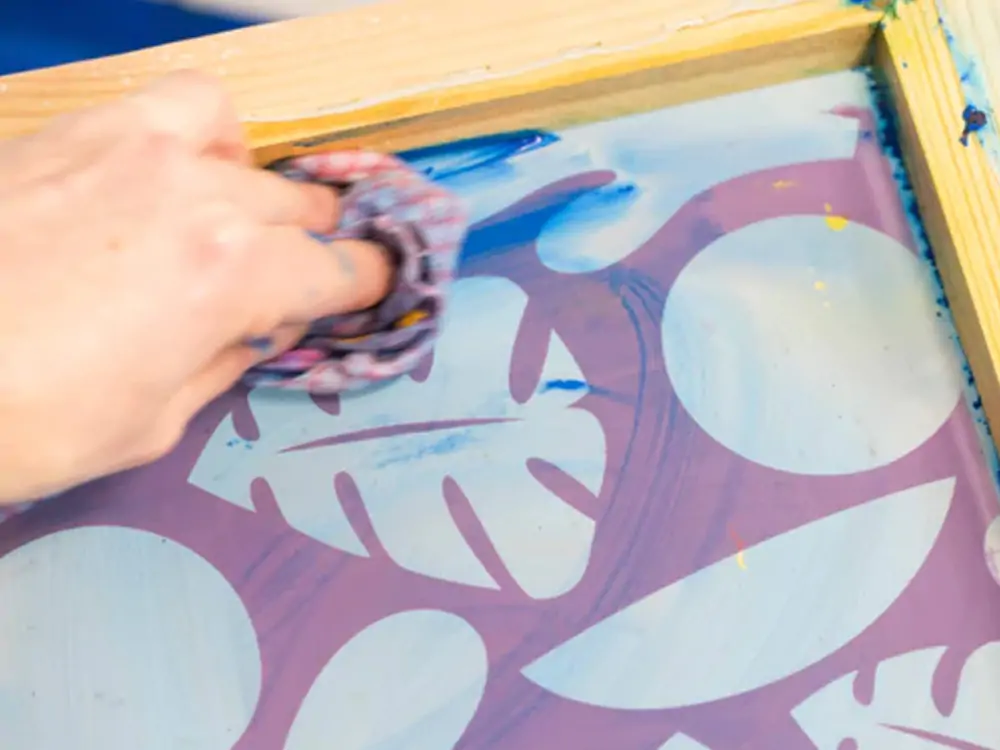
Removing the tape from the screens’ sides is unnecessary for reuse. To remove any surplus ink accumulated during screen printing:
- Use a cloth or dry towel to wipe it off.
- Apply a cleaning solution to the screen using a cloth to ensure thorough distribution. If you intend to use the same ink color for the next print run, the screen does not need meticulous cleaning as it would when transitioning to a different ink color.
- Ensure thorough cleaning of the screen until the emulsion becomes transparent enough for the subsequent task. For more detail, click here.
1.2. Reclaim Screens
Wear protective gear, including goggles and gloves, when handling chemicals; this tutorial will walk you through screen reclamation.
- Remove protective coverings, such as tape or plastic, from the screen and its edges. Doing so will guarantee the complete removal of the ink.
- Squeeze or scrape the extra ink off the screen and put it in a container if you want to reuse it.
- To avoid the ink on the squeegee and any excess ink on the screen, use a towel to wipe them off. Using wax paper or plastic to erase ink is another alternative. This is a simple way to clean the screen without using too much chemical.
- Carefully position the screen so the print side faces upwards on a horizontal surface. Spray a liberal quantity of screen reclaimer onto the screen and let it soak in for around 2 minutes or as the manufacturer directs. You risk screen damage if you keep the cleaner on for too long. Another alternative would be to use a cloth or paper towels soaked in isopropyl alcohol to wet the screen for a few minutes.
- After allowing the cleanser to settle, gently scrape the screen with a rough brush to break up the emulsion. Pressure washers with a pressure range of 1,500 to 2,000 PSI may remove the cleaner and any residue that has been scraped away. Screens with slack tension are more likely to accumulate ink than screens with tight tension, so if you find that the pressure washer isn’t removing all of the ink, check the tension on the screens again.
- To clean retensionable screens more easily, raise the mesh tension. To power wash the other side of the screen or to obtain the same effect by scrubbing in the solution and then power washing it off if the tension is not an issue.
- Use a power washer and emulsion remover to clean the screen. Then, grease both sides of the screen. Doing so will eliminate any remaining contaminants. The emulsion’s ensuing screen-stickiness depends on this stage; skipping it increases the risk of problems. Use the power washer to rinse the screen after rubbing it with the degreaser.
- Lastly, allow the screens to dry naturally but speedily. You can keep pinholes and stencil damage at bay by positioning the screen next to a window, an open space, or a dry room. If a spectral picture remains after the screen has dried, a haze remover may be used to eliminate it.
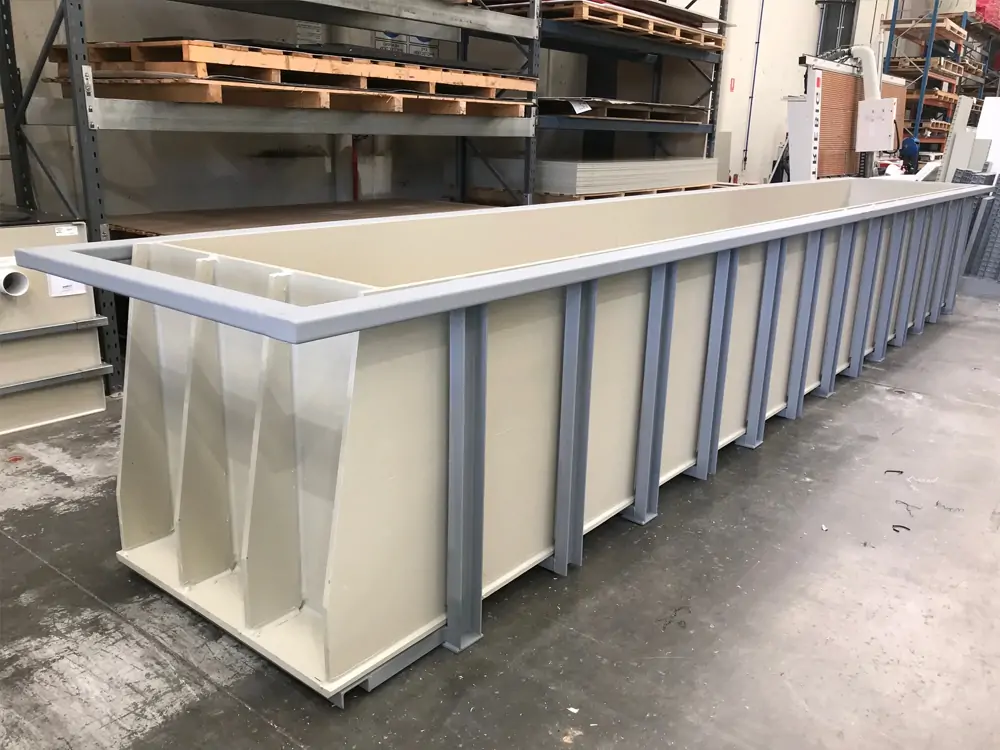
2. What Is a Dip Tank?
Dip tanks are storage containers fabricated from polyethylene, a material that is comparable to rugged plastic. Because they are made of polyethylene instead of plastic, these tanks are distinct from store-bought alternatives. The dip tank solution contains chemicals that polyethylene can withstand. After dipping a used screen for five minutes, the screen printer removes it from the tank. When you remove the screen, the ink becomes loose and falls off in the solution. After removing the screen, any remaining emulsion traces and ink are rinsed using a power sprayer.
3. Summary
To maintain the effectiveness and durability of the screens, it is critical to clean and reclaim them immediately following the completion of a print job. If you follow the steps in this piece, you can keep your screens in excellent shape, allowing you to make clean, accurate prints for future designs.